How to connect an affiliate network ?
You just have to go in Menu => Settings => Affiliate networks
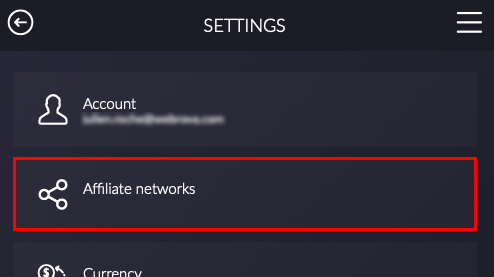
Then click on the button “+ ADD NEW NETWORK“

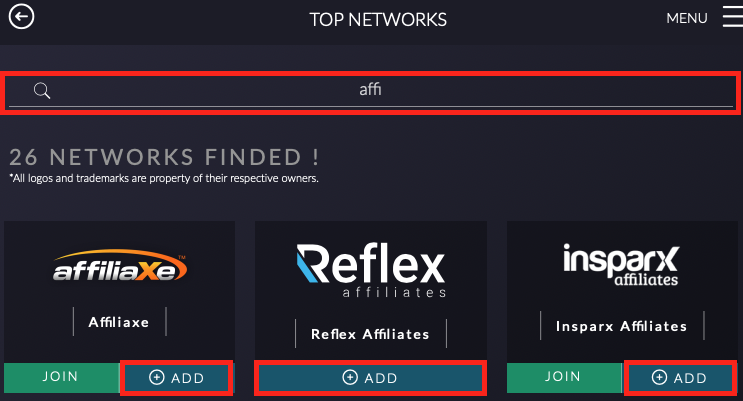
Search your affiliate network via the search engine then click on “Add“
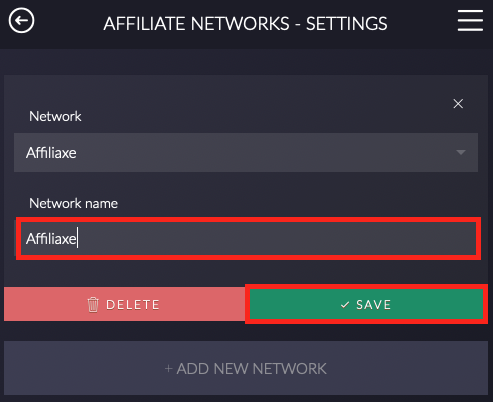
Name your affiliate network as you want it to appear in the application, fill the specifics fields if required (depends on the affiliate network) then click on “SAVE“.
Your tracking link is ready ! click on “COPY” to get it !
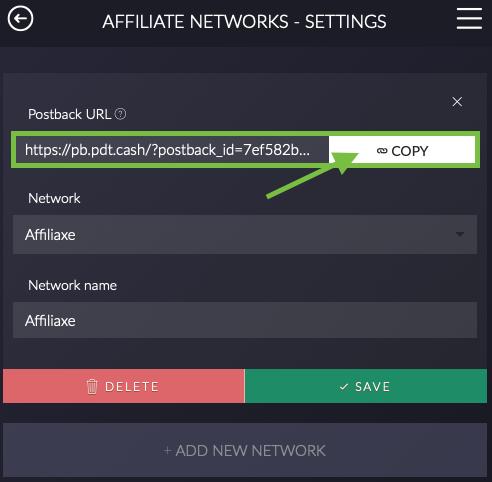
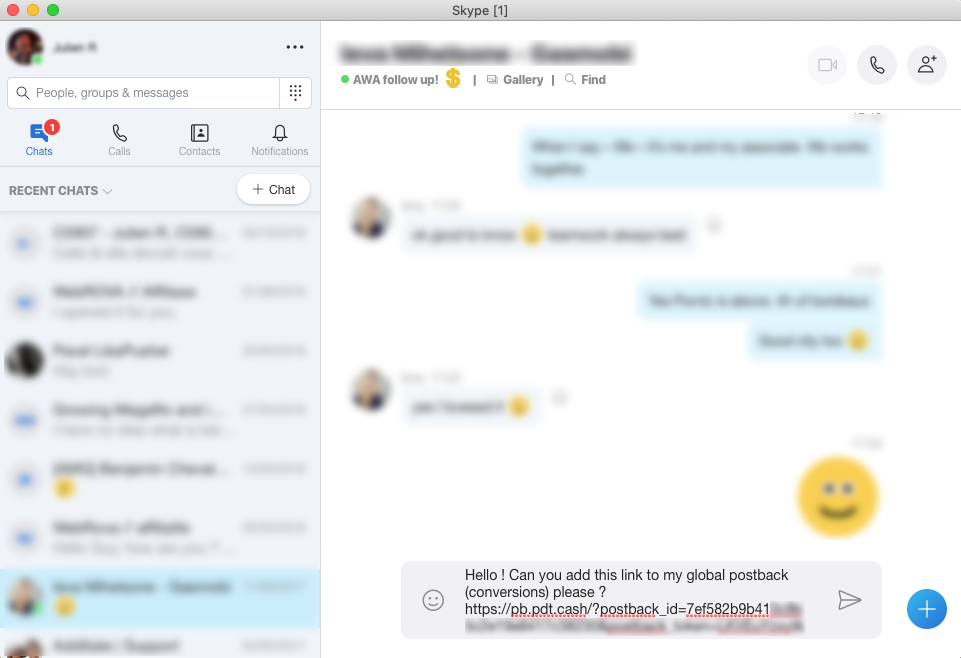
Then, just give it to your affiliate manager and ask him to add it to your GLOBAL POSTBACK (conversions) or add this link yourself to the backoffice of your affiliate network in the “global postback” section on conversions.
It’s all ! You will now receive all future conversions made on this affiliate network. Don’t hesitate to add your other affiliate networks with the same process!
What is the different dashboard blocks ?
Your dashboard is entirely customizable ! So you can find many different dashboard blocks ! To start customizing your dashboard you just have to go in Menu => Settings => Dashboard Blocks
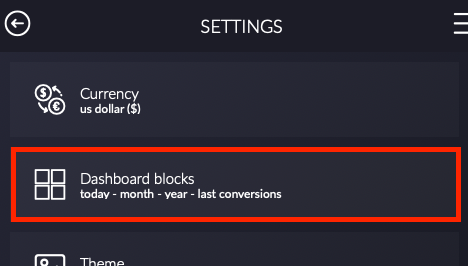
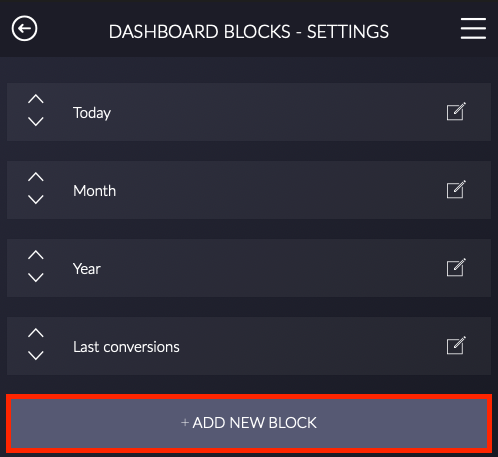
Then click on “+ ADD NEW BLOCK“
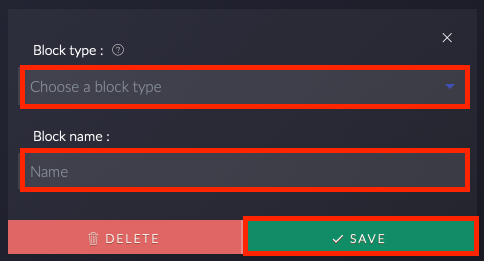
Now you need to select the type of block (explained below) and the name as you want it to appear in your dashboard.
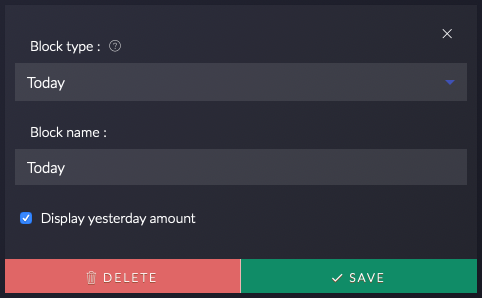
The “Today” block :
This block will display the total amount of the day. You can also display yesterday’s amount in this block.
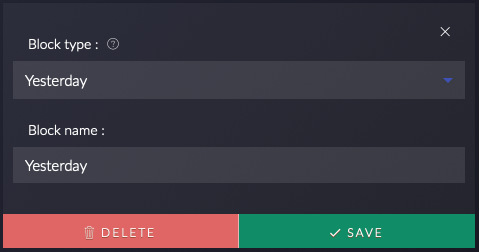
The “Yesterday” block :
This block will display the total amount of yesterday.
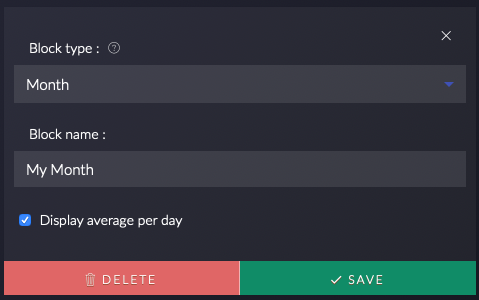
The “Month” block :
This block will display the total amount of the month and the average per day if you want.
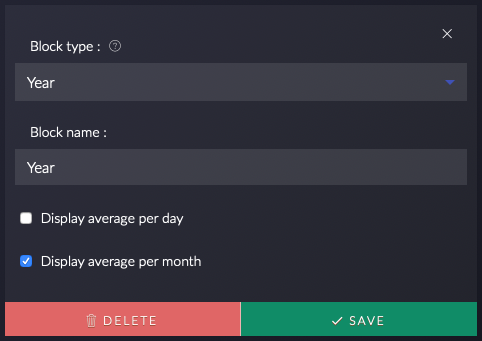
The “Year” block :
This block will display the total amount of the year. You can also display the average per day and/or the average per month.
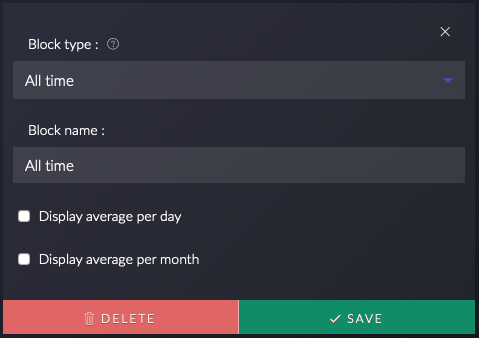
The “All time” block :
This block will display the total amount since you are using PDT. You can also display the average per day and/or the average per month.
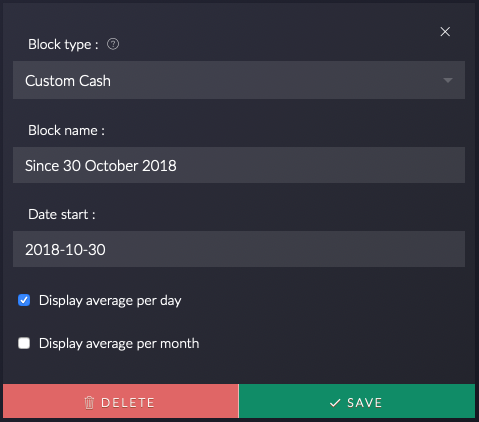
The “Custom Cash” block :
This block will display the total amount since a defined date. You can also display the average per day and/or the average per month.
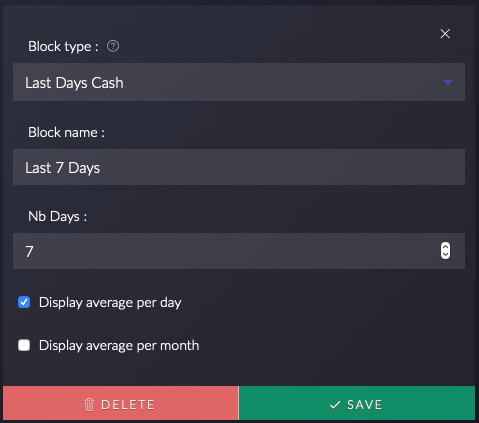
The “Last Days Cash” block :
This block will display the total amount of the last X days. You can also display the average per day and/or the average per month.
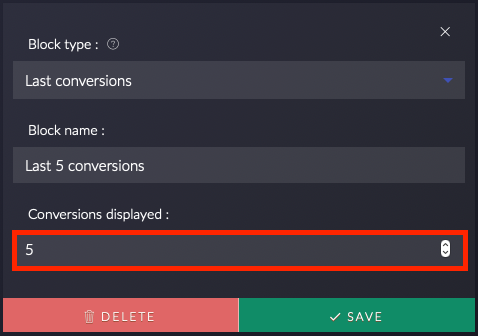
The “Last conversions” block :
This block will display the last conversions you made. You can define a number of last conversions to display on your dashboard. You can also put only one conversion to display the last conversion.
I don't find my affiliate network, how to add it ?
First you have to go in Menu => Top networks and search your affiliate network. Then, if you don’t find it you can click on “ADD A NETWORK TO PDT” :
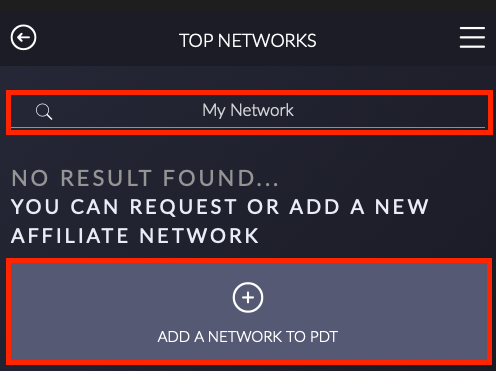
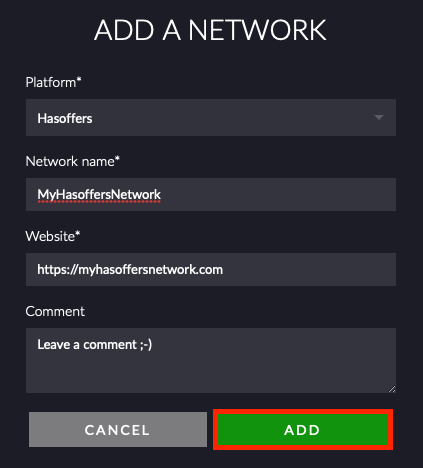
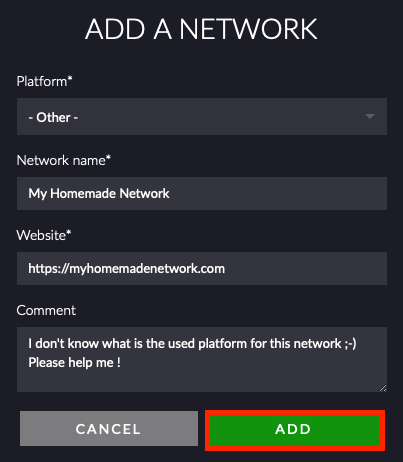
Now you have to fill the fields :
Platform : Choose the right platform of your affiliate network. If you don’t know, chose “- Other -” and read the section “I don’t know the platform of my network” below.
Network Name & Website : Informations about the new affiliate network.
Comment: Leave a comment if you want to tell us something about this new affiliate network.
To finish, click on “ADD” button.
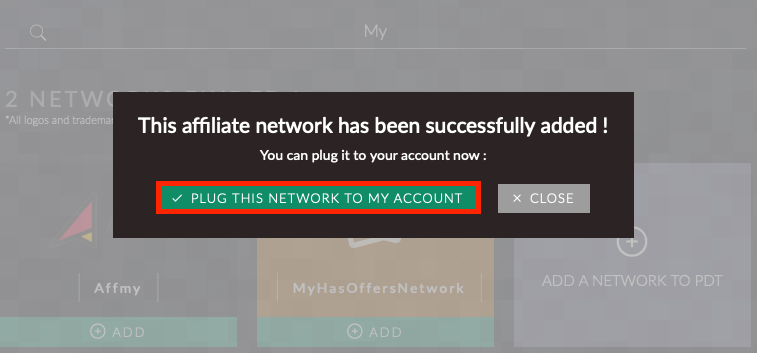
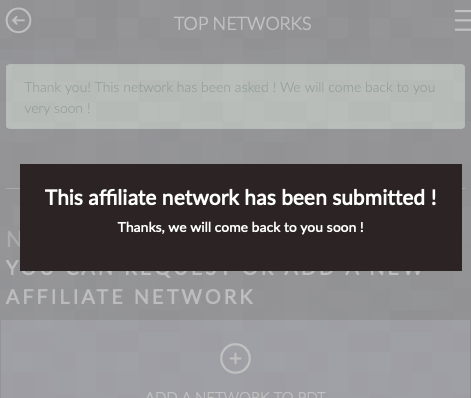
That’s it ! Now you can plug your new network to your account and enjoy first conversions !
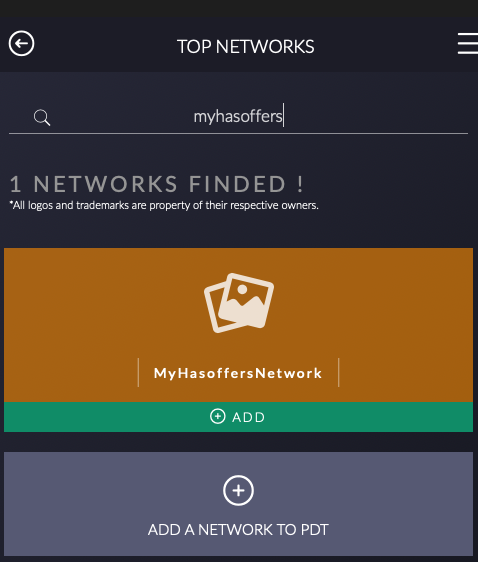
Next time, you will find your new network in the “top networks” list in an orange color block. This network will only visible by you until we approve it !
I don’t know the platform of my affiliate network ! How I can add it ?
If you don’t know the platform of your affiliate network, don’t worry ! We will search it and add it for you 🙂 ! But it may be slower … For this, simply choose “- Other -” in the list of platforms and fill out the rest of the form ! To finish, click on “ADD” button.
How to add the PDT's postback link to ClickBank ?
On the ClickBank’s dashboard, you just have to go in Vendor Settings=> My Site

Scroll to “Integrated Sales Reporting”, then click on the “ADD TRACKING CODE” button

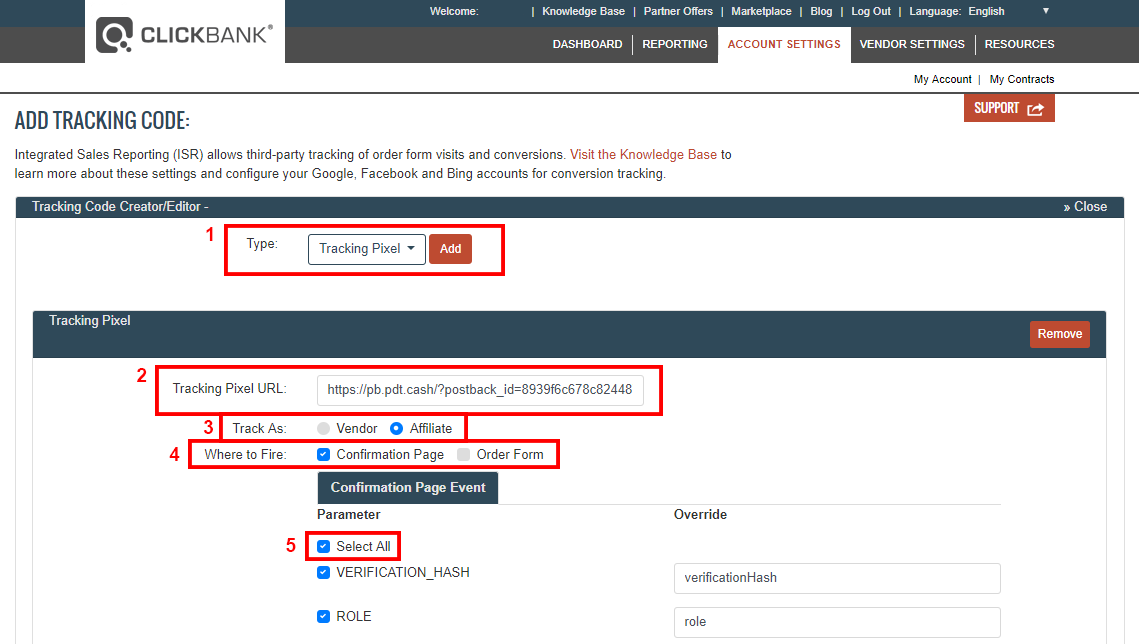
- Select “Tracking Pixel” in Type, then click to the “Add” button.
- Paste your PDT postback link in “Tracking Pixel URL“.
- Select “Affiliate” in Track As.
- Select “Confirmation Page” in Where to Fire.
- Check “Select all“.
Then click on the “Save” button at the end of the page.
For finish, click on the “Play” button ! The status of your Custom Pixel must be “Active“
